Problem first: prints fail when workflows don’t match
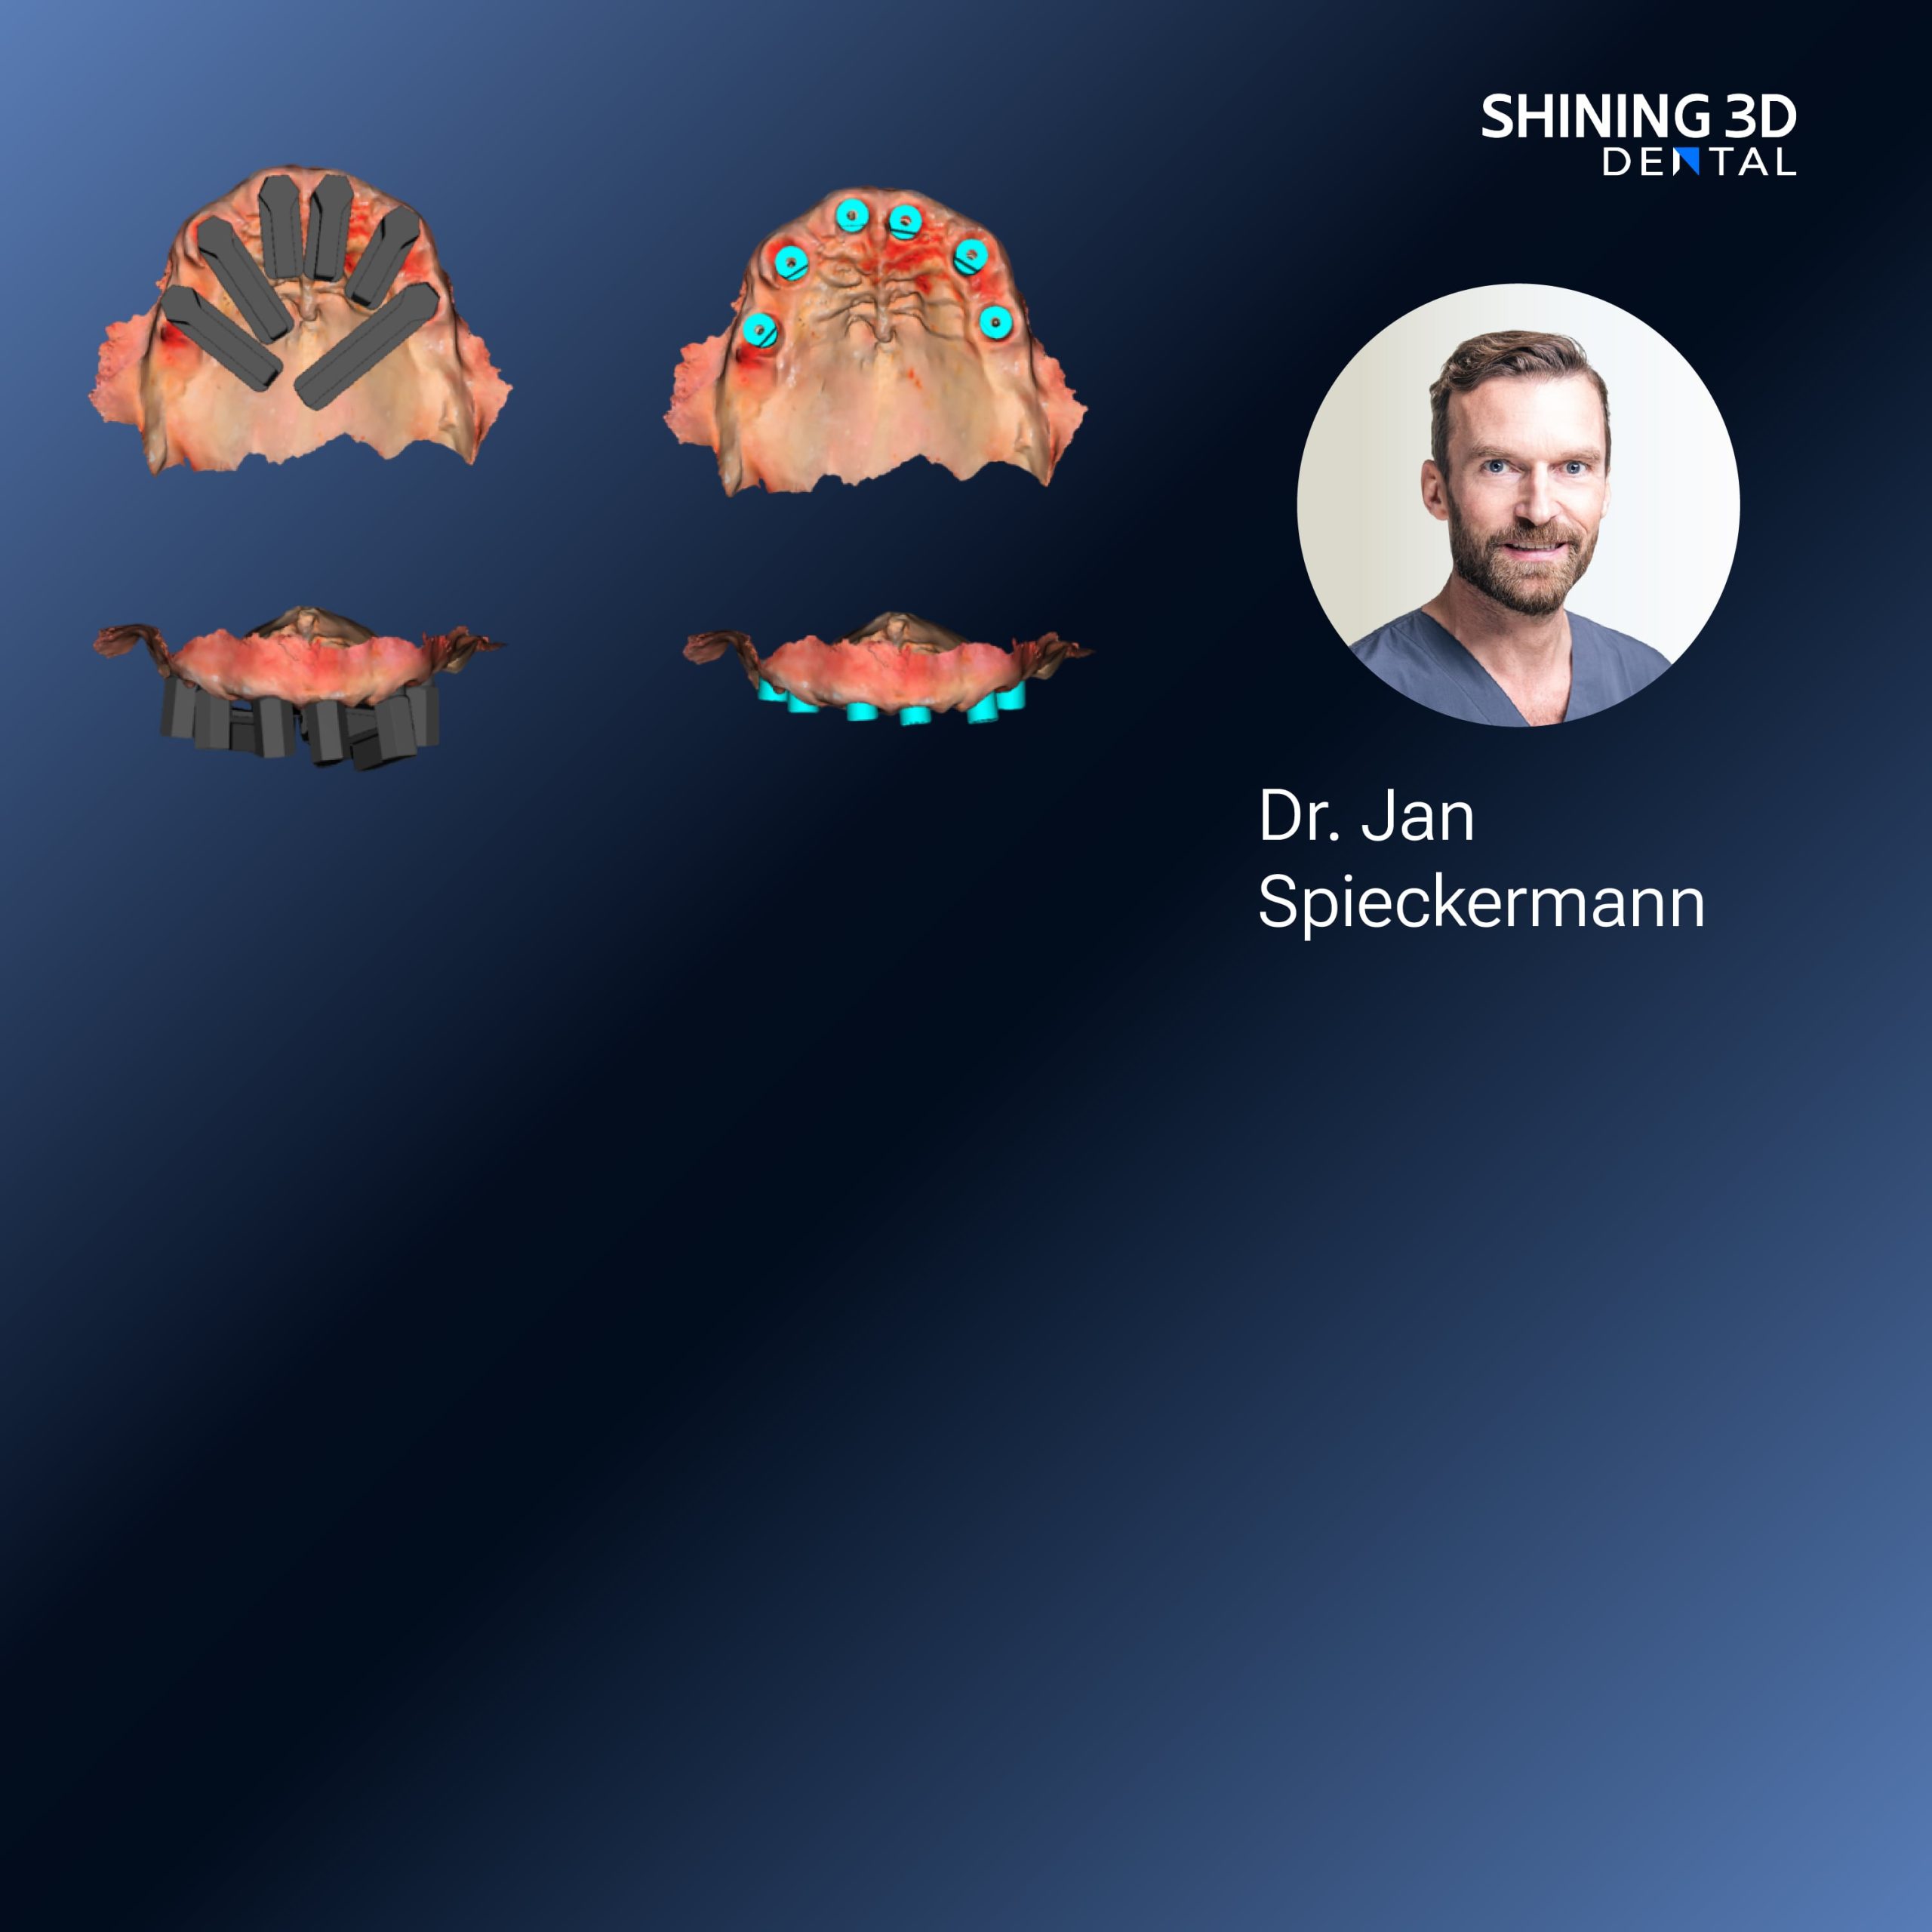
Too many practices treat a 3D printer like a copy machine: load, print, hope. That attitude causes fit issues, reprints, and angry patients. The real problem is mismatch—between scan data, slicing settings, and material handling—especially when an intraoral scanner feeds high-detail files into a printer tuned for general models. Fix the mismatch and you stop firefighting after every case.
What actually breaks a workflow
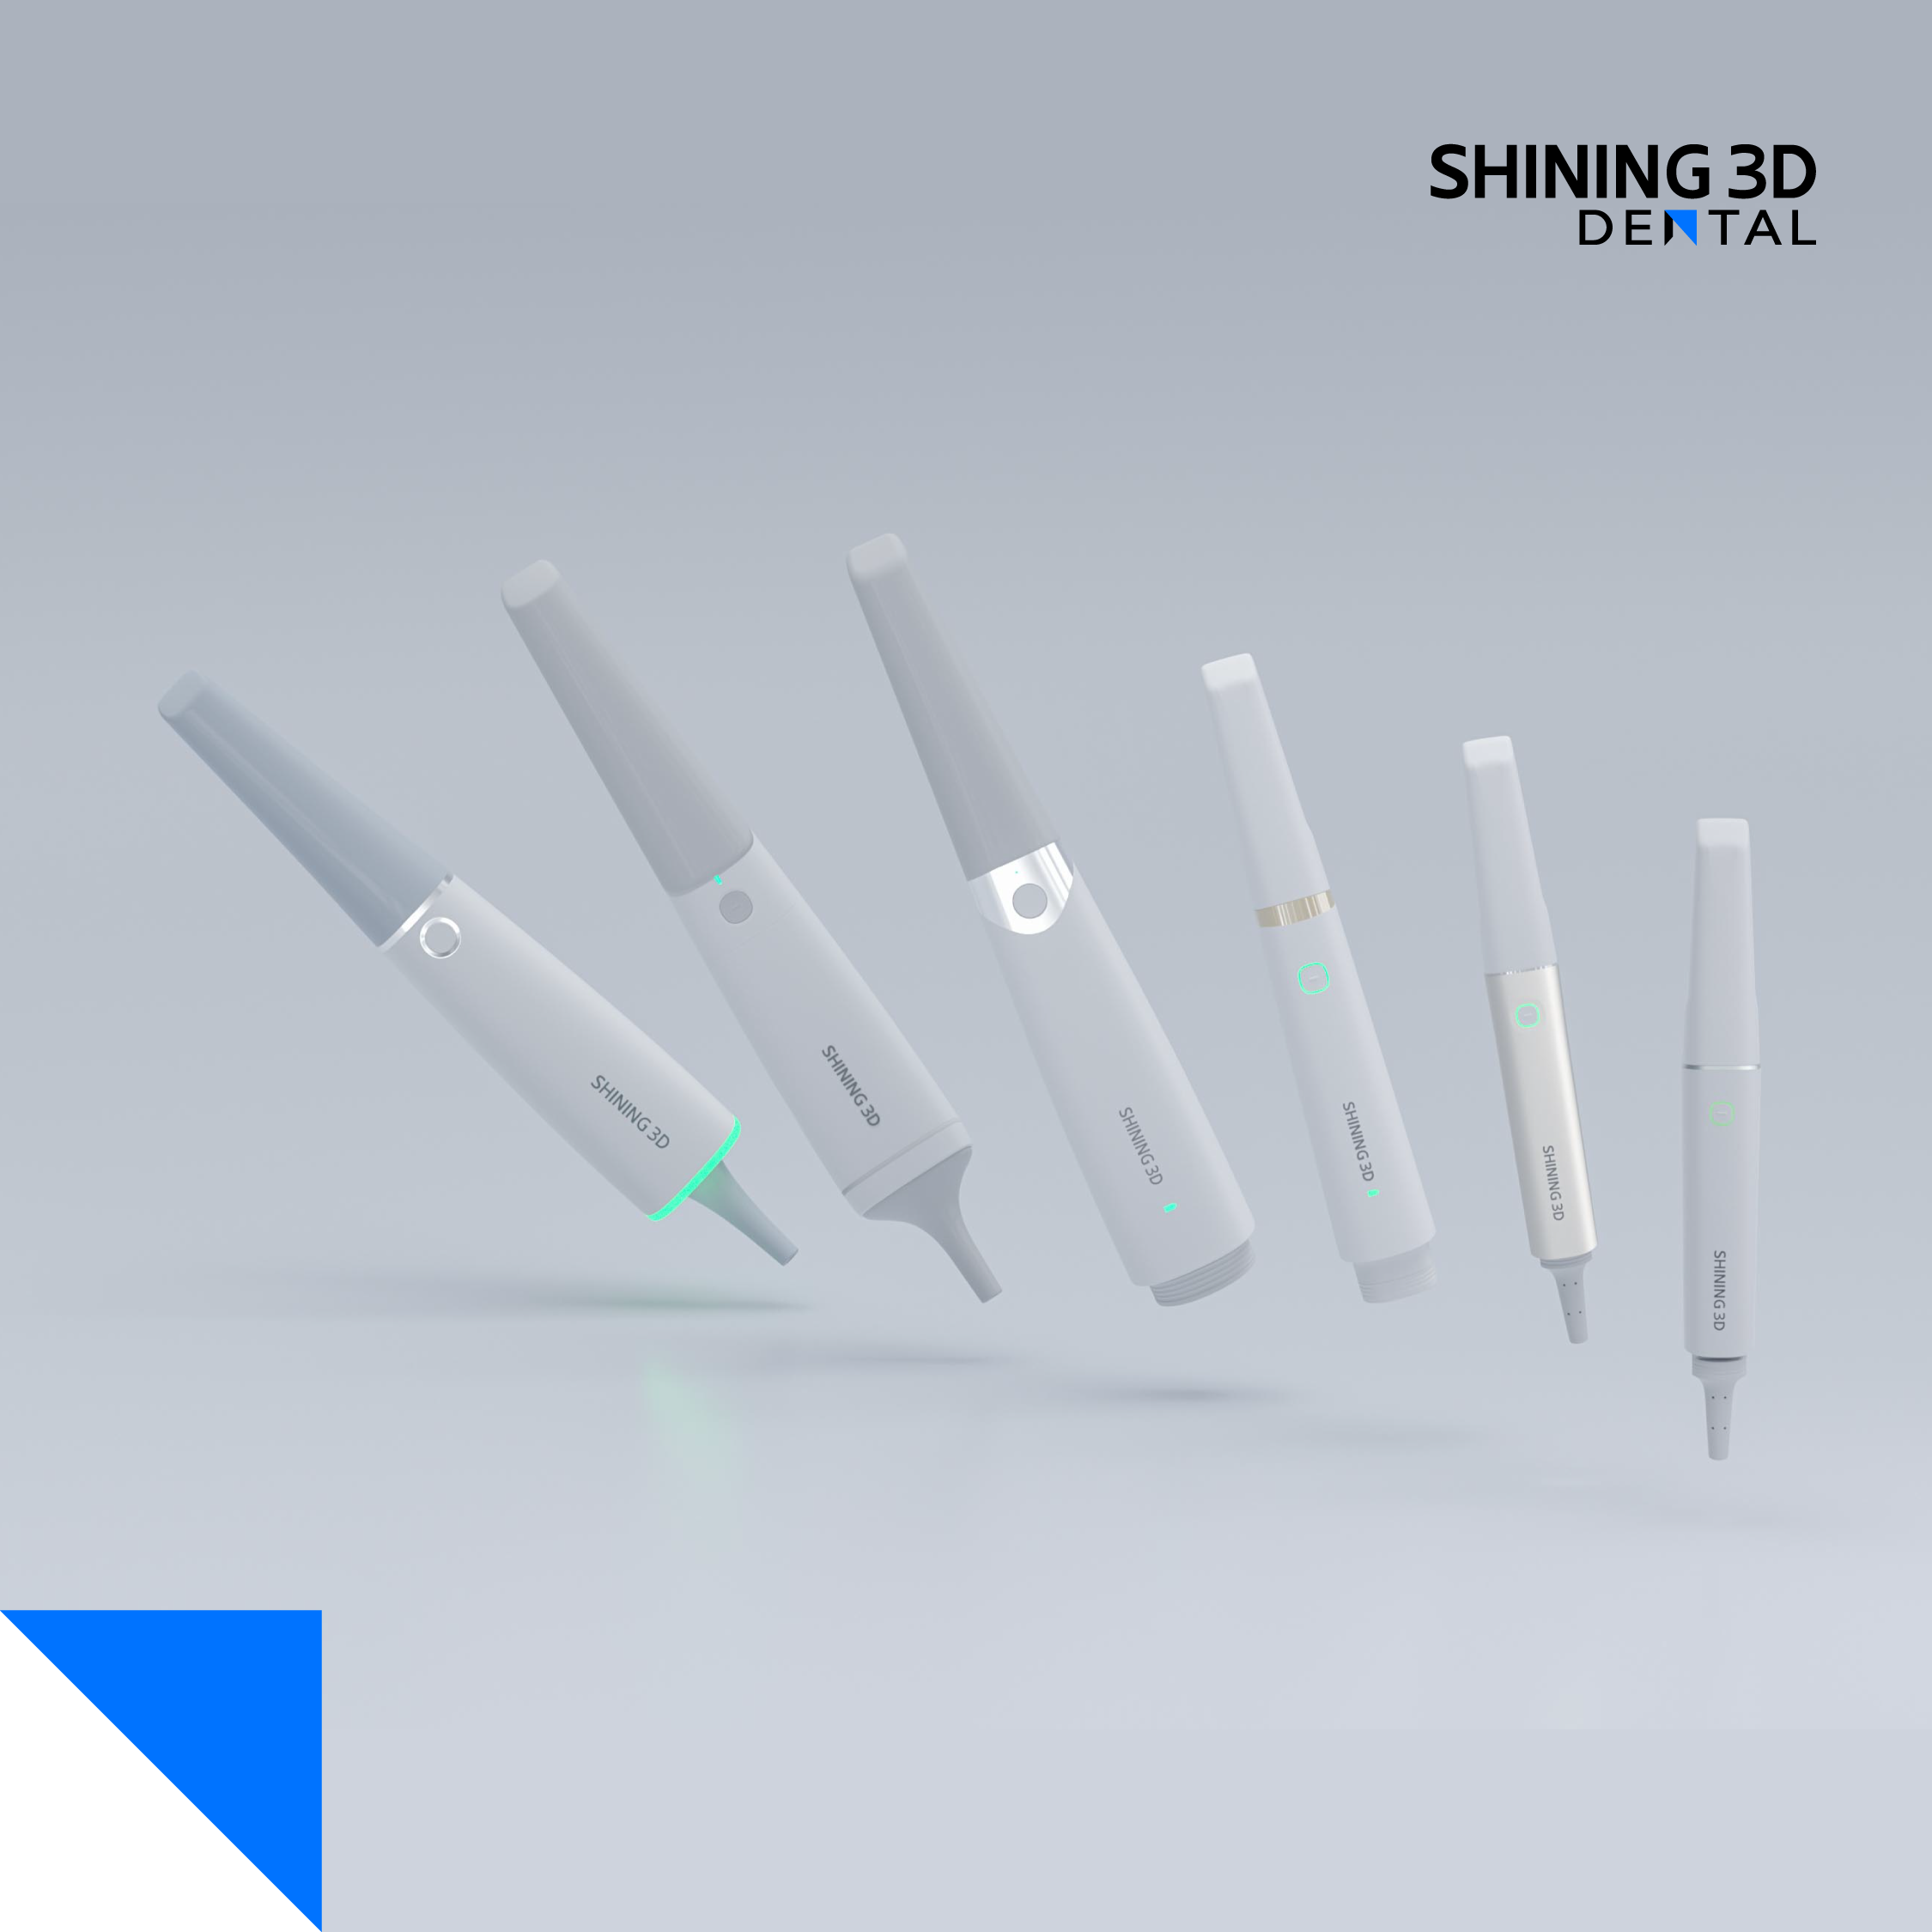
Warped trays and sticky supports come from three root causes: poor platform leveling, wrong resin temperature/age, and mismatched print orientation. Users also sabotage prints by overcompensating in software—too many supports, too fine a layer for an old VAT, or aggressive post-cure that deforms thin margins. Callouts matter: the smallest deviation at the margin becomes a large seating gap on the patient.
Daily and weekly maintenance that avoids chaos
Daily: check build-platform tightness, visually clear debris from the vat, confirm resin is homogeneous, and run a quick 1×1 cm test pillar when switching materials. Weekly: verify z-axis calibration with a dedicated gauge, inspect the FEP film or LCD for micro-scratches, and log ambient temperature. Replace consumables on a schedule, not when they fail. These steps take minutes and prevent hours of rework.
Quality checks before sending a crown to the patient
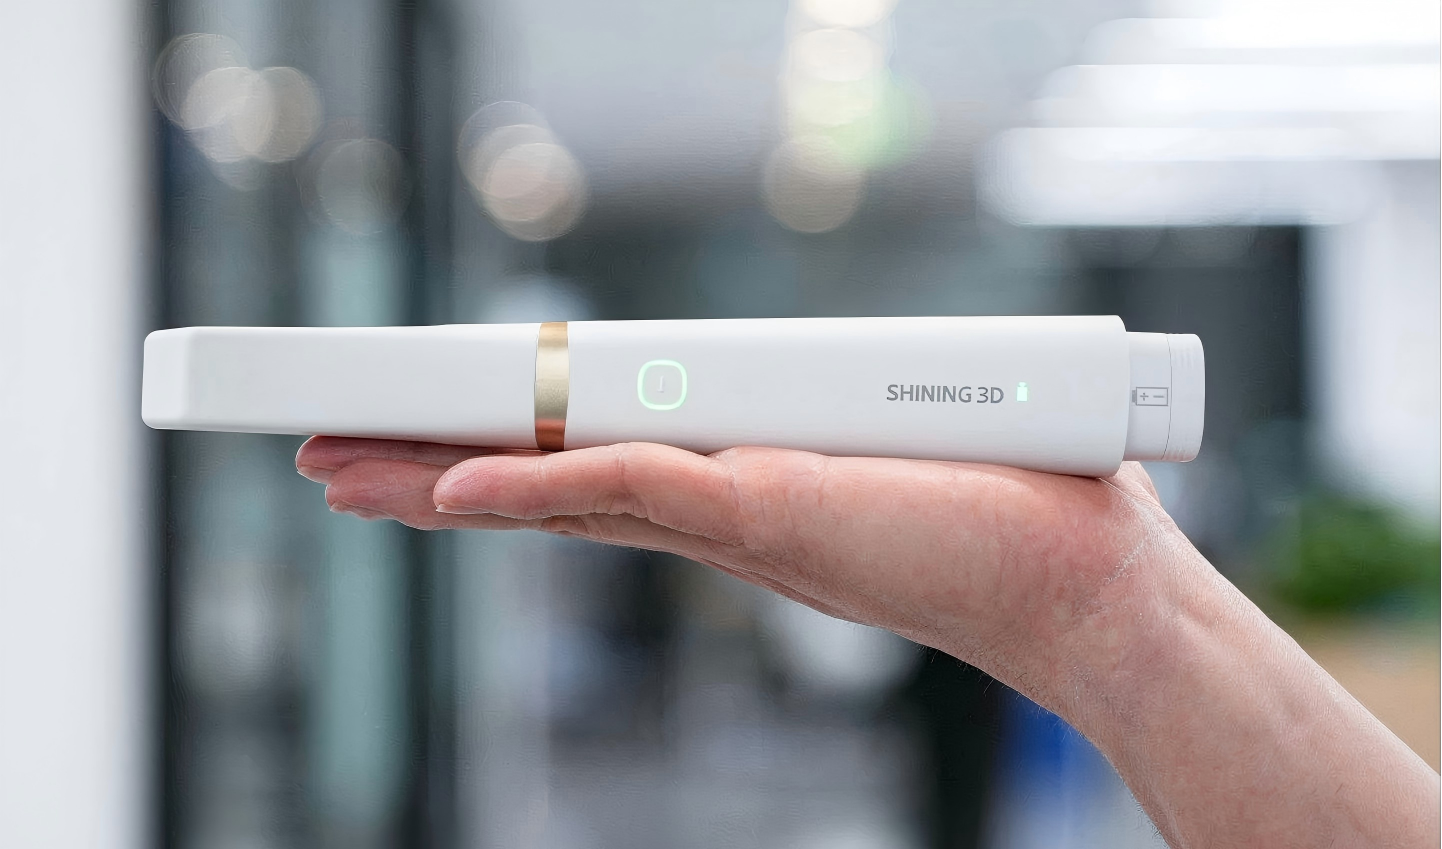
Do three checks: dimensional validation, margin clarity, and fit rehearsal. Print a small calibration coupon at the same orientation and supports planned for the final model, measure critical dimensions with a caliper, and compare against the design. Use a physical seating test on a die or analog to confirm undercuts and margins. Clinics in major U.S. dental markets routinely pair their printers with a reliable dental scanner for impression to reduce scan-to-print surprises; that pairing is the reason many labs report fewer remakes when they standardize both devices and procedures.
Common pitfalls and how to stop repeating them
Stop: assuming new resin behaves like old resin; changing slicing parameters mid-job; skipping a post-cure verification. Start: track one variable at a time, keep a single validated profile for each resin/part combo, and document each run that required deviation. If a print fails, record layer height, orientation, support type, vat age, and room temperature—don’t guess.
Practical checks for clinicians who want predictable seating
Before patient appointment: print a critical-margin section at full settings, try-fit it on the model, and weigh the part for gross material consistency. During fit, inspect margins with magnification and verify occlusion with a shim film. If anything looks off, rerun the coupon print at adjusted orientation rather than reprinting the entire borough of models.
Why this matters and a concise way forward
You want restorations that seat on the first try. That requires clear protocols, simple tooling, and a trusted device ecosystem that matches scanning and printing behaviors. Teams that adopt these checks reduce remake rates and chairside time. The approach I outline mirrors what experienced lab managers and chairside techs prefer when they standardize equipment with partners like SHINING 3D DENTAL, because predictable inputs produce predictable fits. Follow these steps, and your next patient will notice the difference without ever knowing the tech behind it.