The problem: heavy downpours, low light and shaky evidence
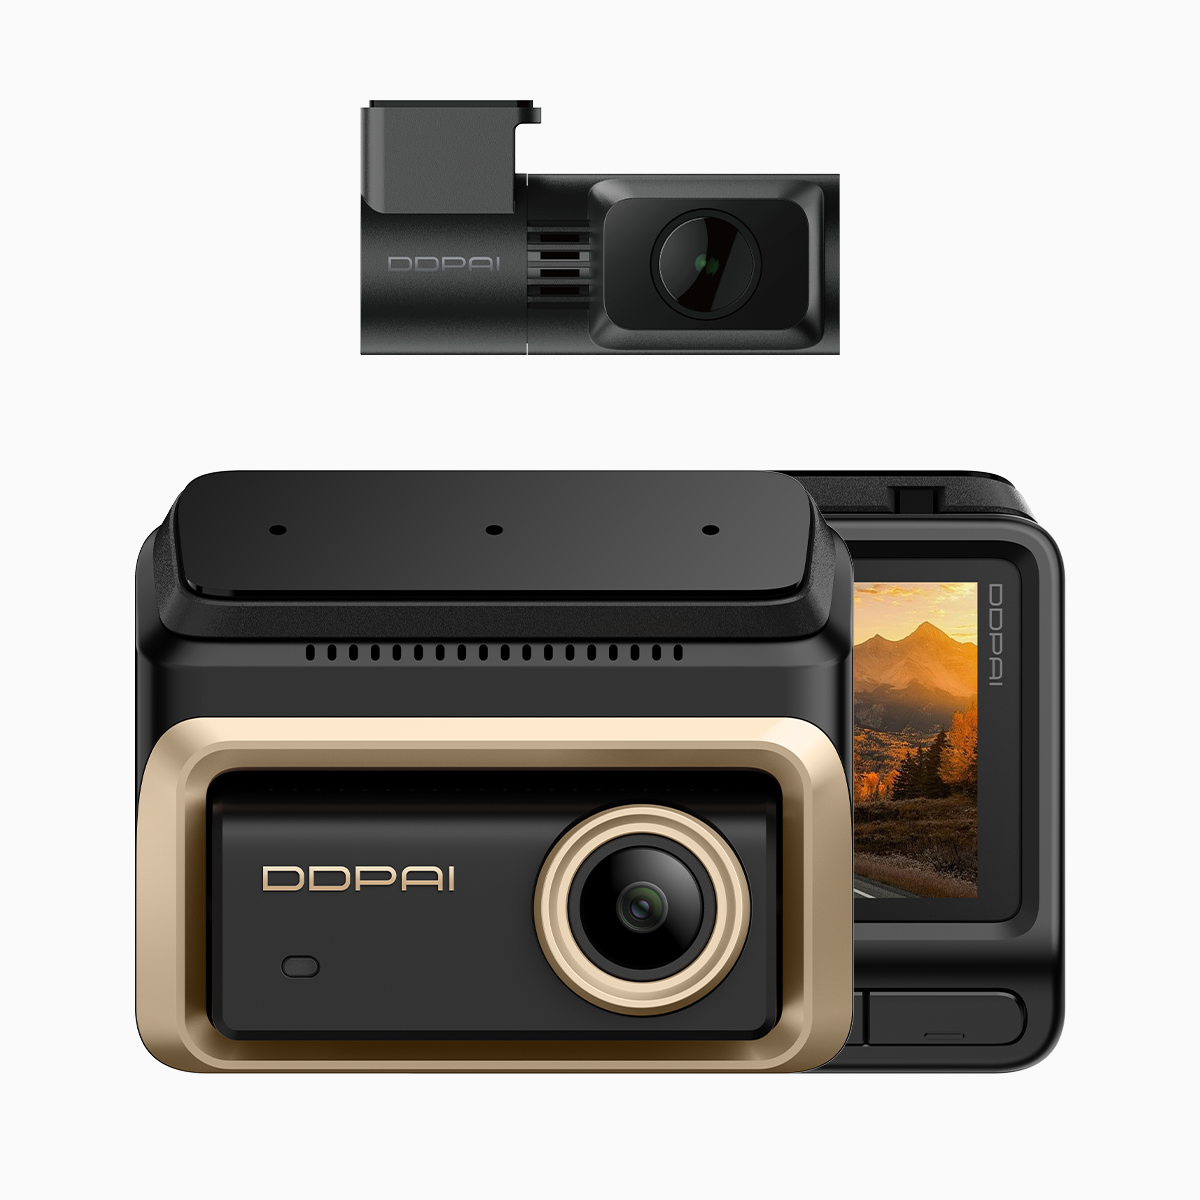
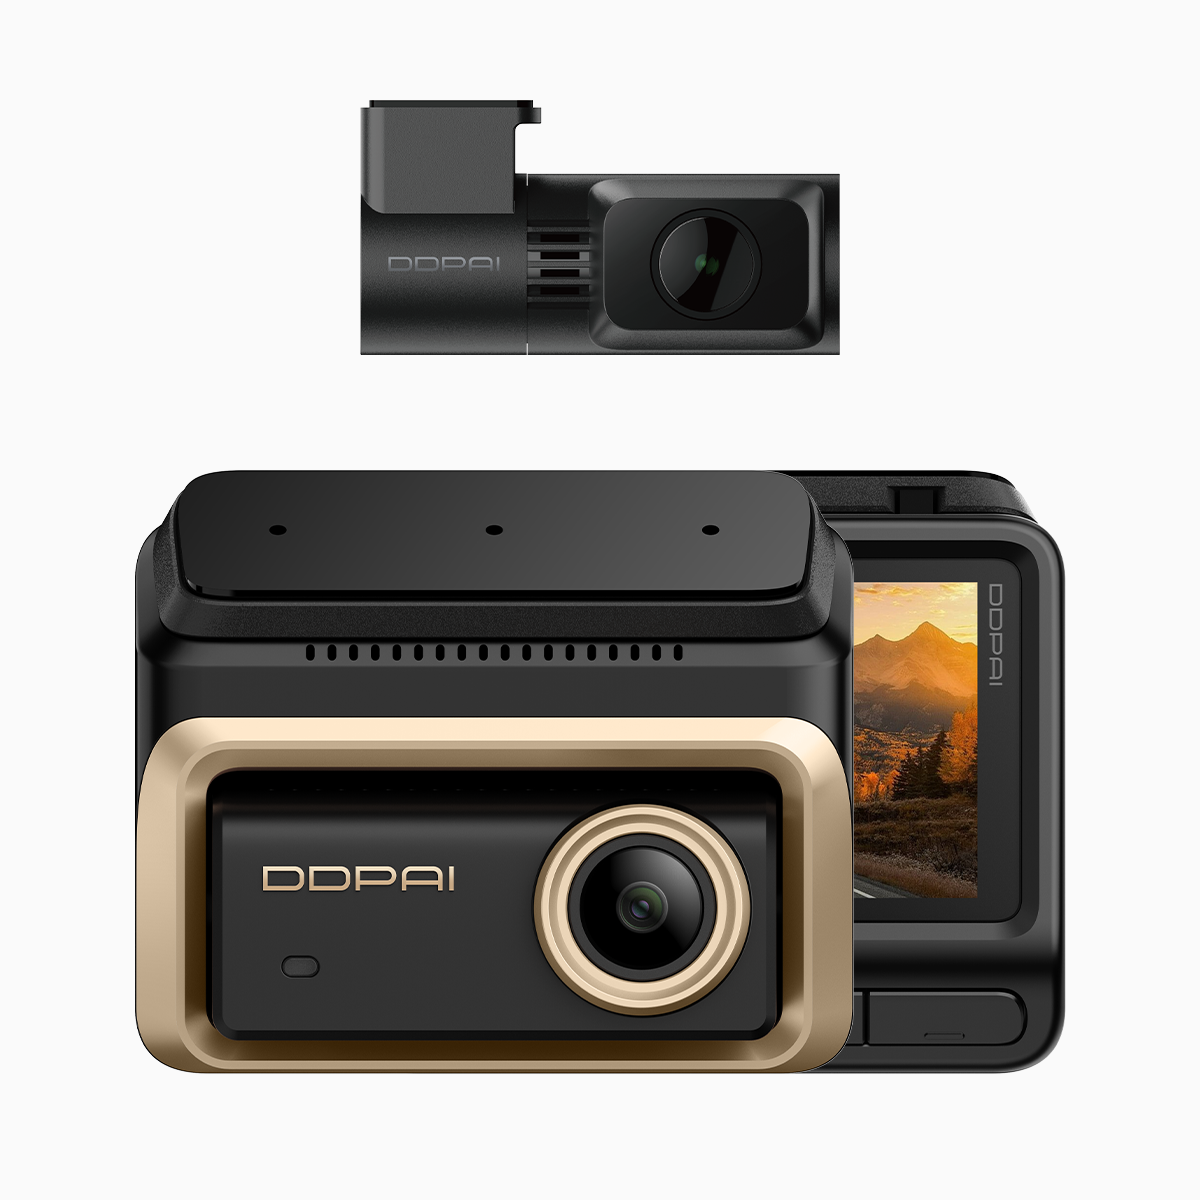
During wet season night drives—visibility drops fast. Roads glow with reflections, street lamps smear, and so many cheap units simply fail to gather usable footage. For fleets and everyday drivers alike, the core failure is not only the sensor but the optical opening it gets: the aperture. If you want a practical example, test a high-end unit like the 3 channel dash cam in a Manila downpour and you’ll see how aperture and sensor pairing changes everything.
Why aperture matters more than you think
Aperture controls how much light hits the sensor. Wider aperture = more photons = cleaner image at lower ISO. That reduces grain and improves dynamic range and low-light detail. But aperture alone is not magic. The sensor size, the ISP tuning, and options like HDR or noise reduction algorithms also matter. You’ll often trade a slightly narrower aperture for better optics and less distortion, or pick a larger sensor with a decent f/stop to balance field of view and sharpness.
Common mistakes and practical fixes
Drivers and installers keep repeating avoidable errors. Fix these and night footage improves quickly:
– Choosing small-aperture units thinking resolution alone solves low-light; it doesn’t. – Leaving default firmware without checking night-mode or HDR settings. – Mounting the camera at an angle that amplifies reflection from wet glass.
Quick fixes: adjust exposure compensation where available, disable aggressive sharpening, and tilt the mount slightly to cut reflective glare. Also test different codecs if your unit offers H.265 vs H.264 — the right codec can preserve low-light detail without bloating files.
Real-world anchor: rainy season testing and what to watch
In the Philippines rainy season (June–November), city commutes on EDSA and provincial highways expose dash cams to true low-light challenges. Real tests there show that a tuned aperture plus smart exposure control preserves license-plate legibility far better than brute-force ISO increases. Field of view (FOV) matters too: too wide and plates shrink; too narrow and you miss context. I ran side-by-side recordings with a midrange unit and a better-tuned model—results favored controlled aperture and good sensor tuning every time—no be small difference.
Choosing between features: sensor, aperture and software
Think in three layers: optics, sensor, and software. Optics = aperture and lens quality; sensor = size and native ISO; software = exposure curve, HDR and codec. If you’re comparing models, include real-world criteria like how they handle backlit wet scenes and sudden headlight glare. Also consider multi-channel setups for full coverage; a 3 lens dash cam gives additional perspective that single-front units cannot match.

Small checklist before you buy or install
Use this quick checklist on-site:
– Verify aperture and test night footage in actual rain. – Check for adjustable shutter options; a slower shutter can help but risks motion blur. – Confirm HDR availability and whether it’s active in night mode. – Evaluate mounting position to reduce windshield reflections.
Three golden rules for reliable rainy-season recording
Evaluate any dash cam against these three metrics before you trust it with crucial footage:
1) Low-light legibility: measured by readable plate distance at wet night speeds. 2) Exposure stability: how the camera handles sudden glare from oncoming headlights without blowing highlights. 3) System resilience: firmware updates, heat and moisture tolerance, and reliable codec handling for long recordings.
Pick a model that scores across all three, and you’ll avoid most courtroom headaches. The practical value becomes obvious when a device keeps clear images through monsoon streets — and that’s exactly the kind of reliability you find in offerings supported locally by DDPAI Philippines.